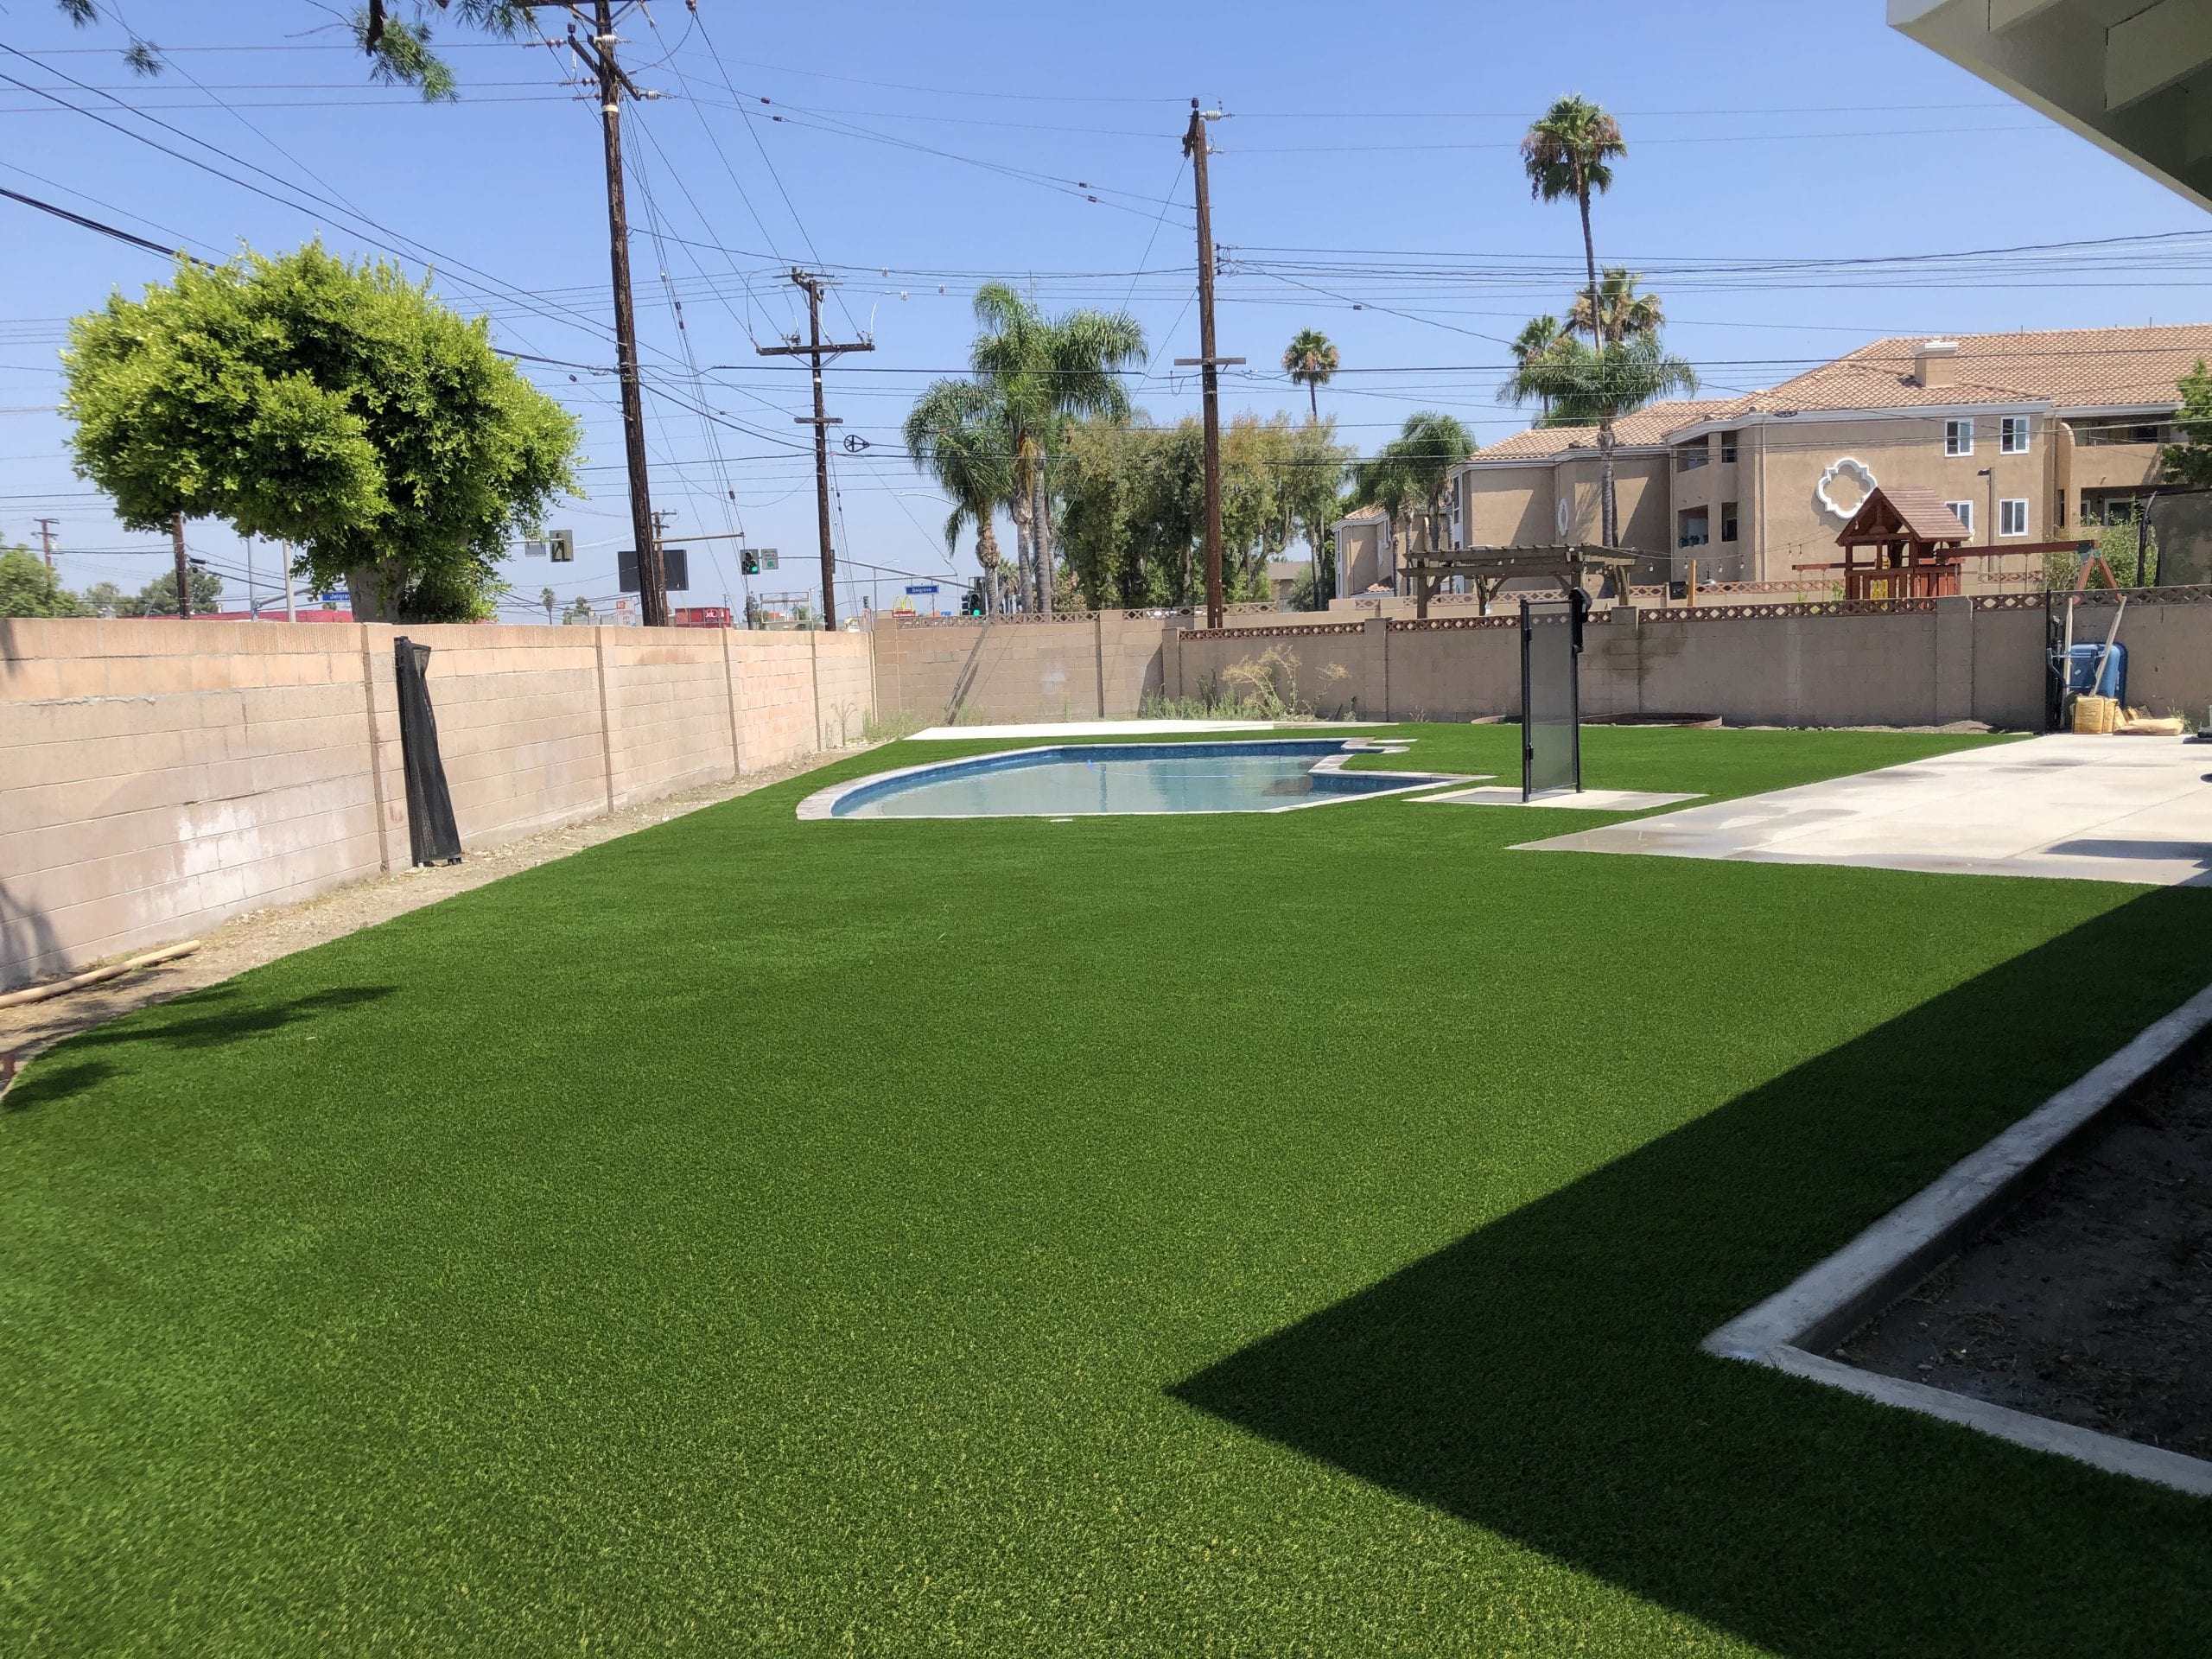
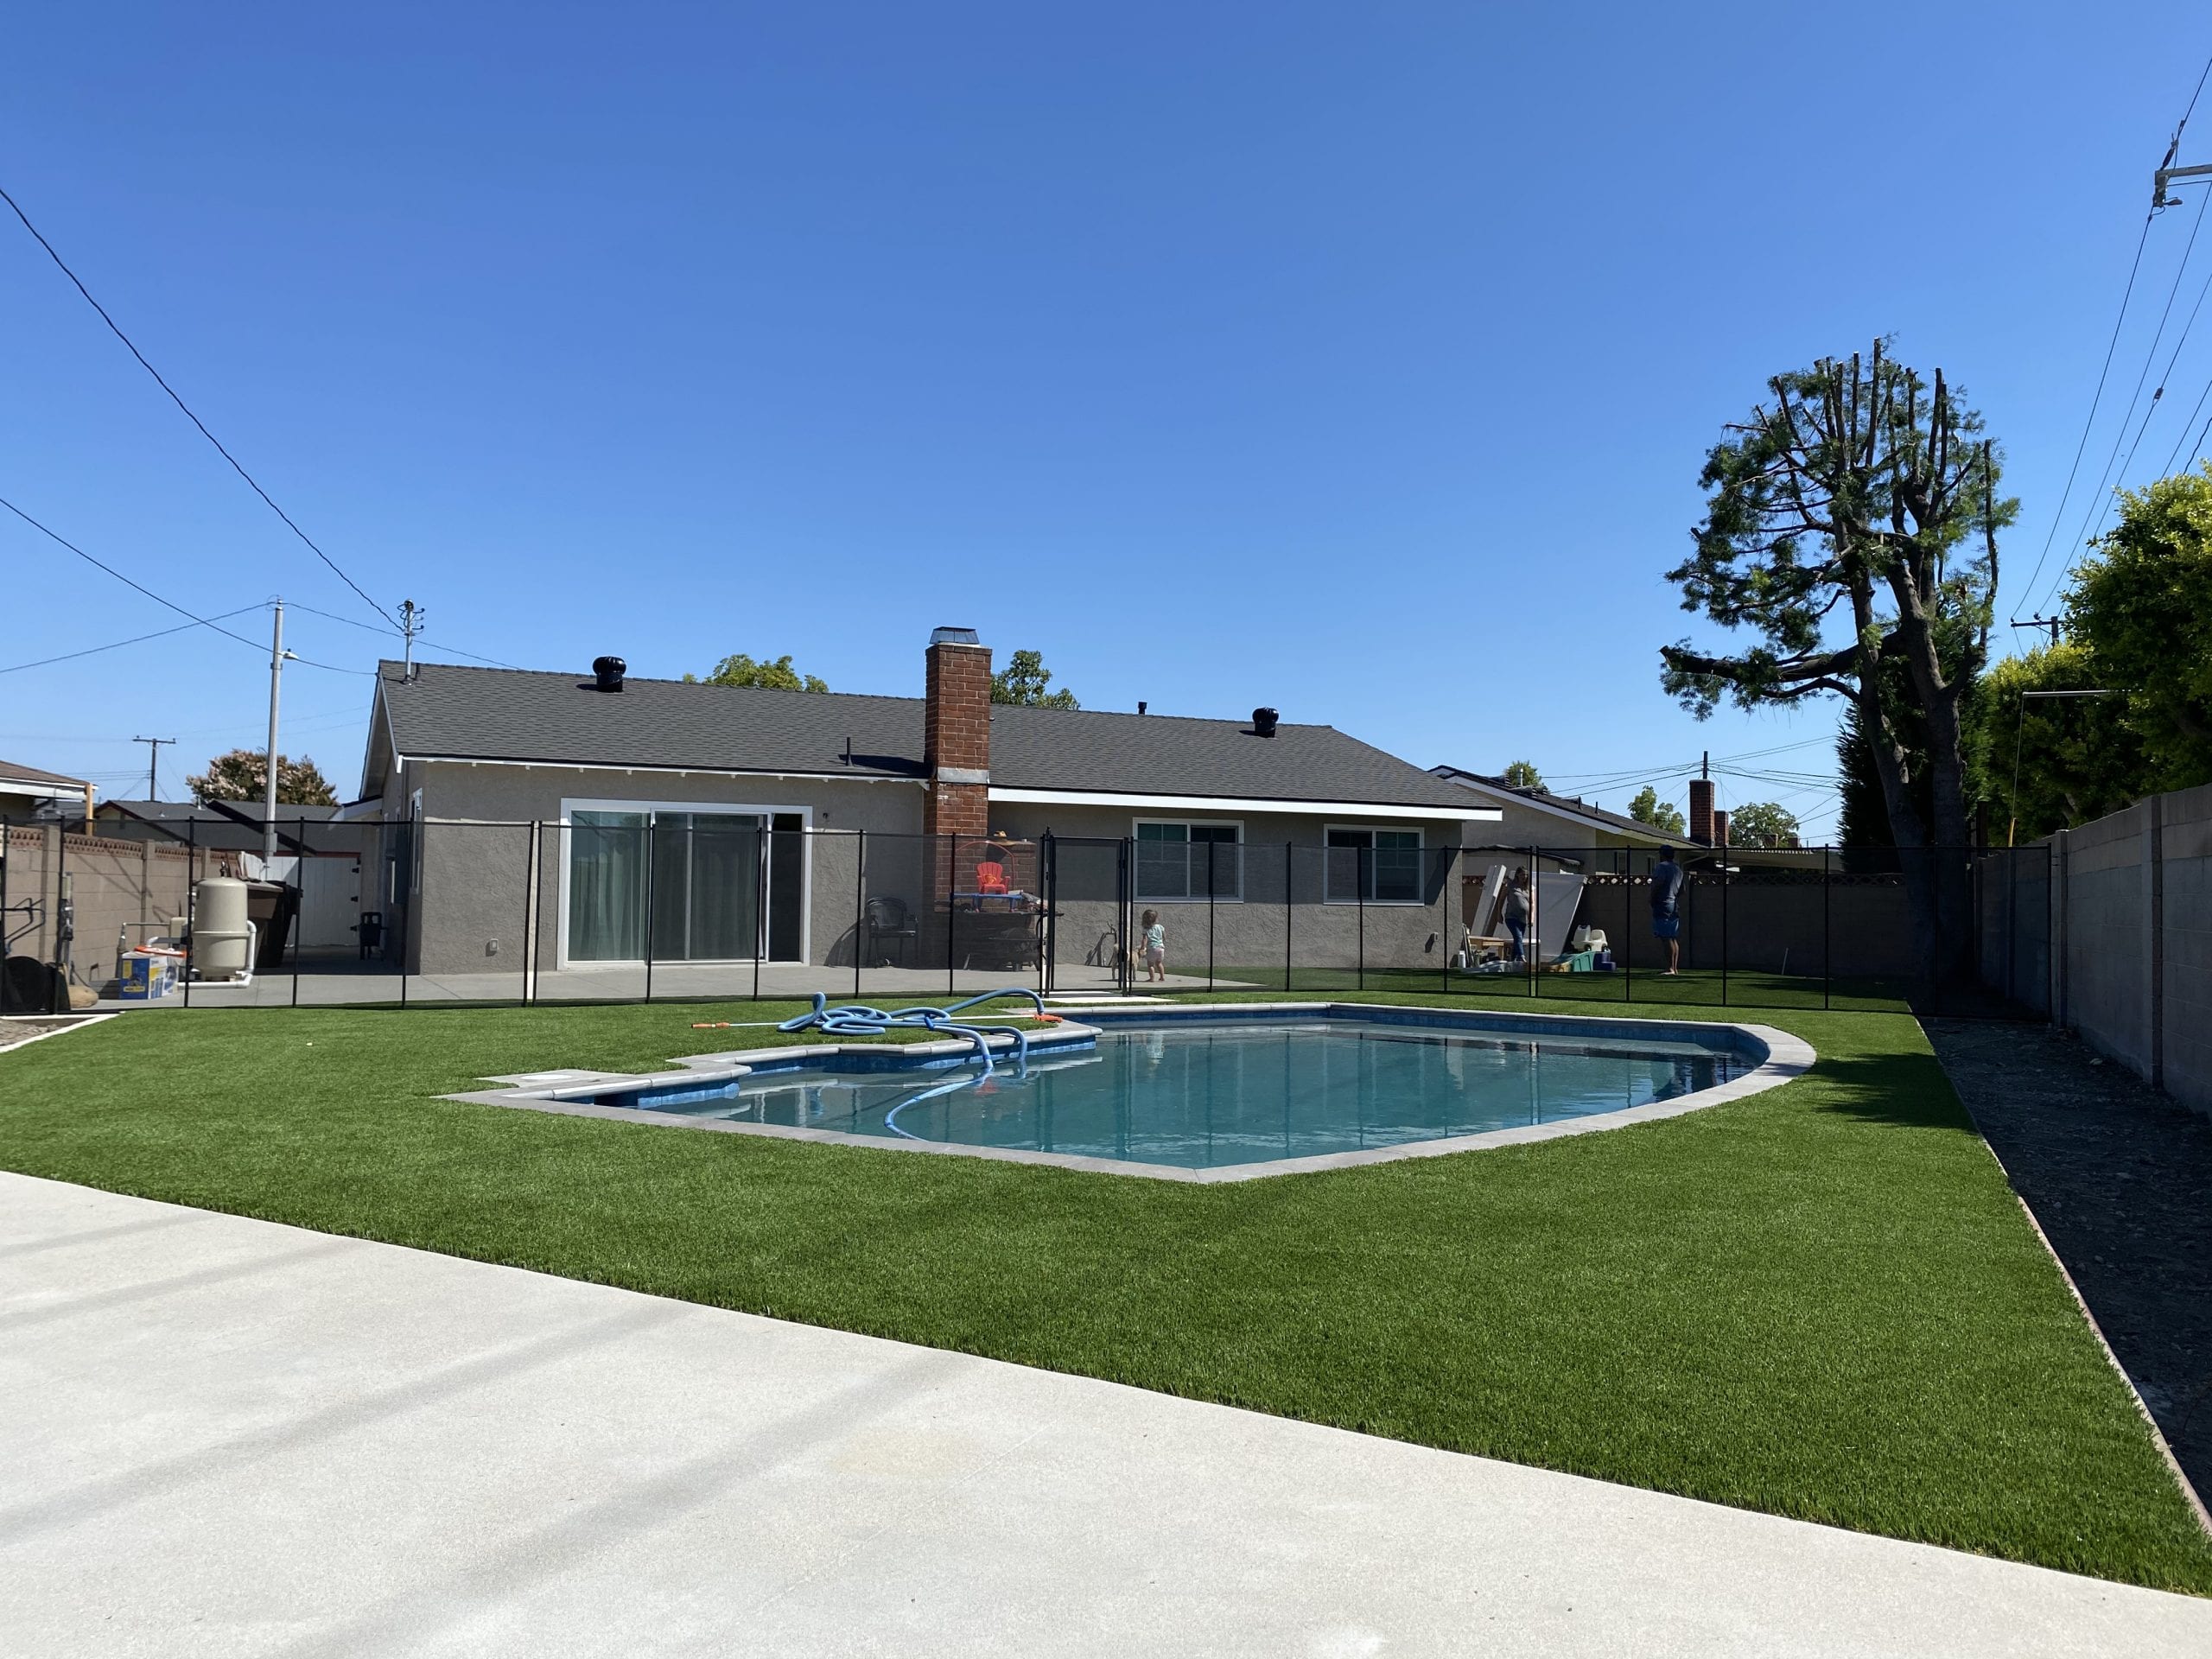
1. Design Phase
A. Drainage: Will the existing drainage system be adequate? Will the artificial grass project area require additional drains or modified drains, grading or sloping?
B. Soil Condition: Will you need to wet or soften the ground or use a jackhammer to remove large rocks? Rain soaked soil may need to dry a few days before artificial grass work begins.
C. Irrigation: Are there sprinklers or bubblers for the remaining trees and plants or does irrigation need to be finished first? Identify all irrigation lines, electrical conduit, etc. below ground that could be damaged during the synthetic grass installation.
D. Preventing Future Damage: Determine if additional supplies are needed to prevent damage from rodents or ground animals. Rodent wire (similar to chicken wire) may be appropriate. Is there a dog that could pull up the artificial grass? If so, the entire perimeter should be secured, to prevent the synthetic grass from being pulled up or damaged.
E. Existing Design Elements: Is there a concrete border? is it smooth? Will you need to nail into concrete footings? If you are using curbing, edging or border materials, install it prior to cutting the synthetic grass, as this will give you a more accurate measurement for the fake grass.
F. Measurements: To reduce labor, measure the project area carefully and design the layout to minimize the number of seams in the artificial lawn.
G. Design Application Tips: All synthetic grass products have a grain direction that must be taken into account. Note the grain direction and install all sections of fake grass in the same grain pattern. Installing synthetic grass in opposing grain patterns may result in noticeable seams.
2. Ground Preparation
A. Underground Hazards: Irrigation and electrical lines may be located just under the surface of the project area. Locate all irrigation/sprinkler heads. Cap off or remove all unwanted irrigation/sprinkler heads. Turn on irrigation to verify everything works correctly before you start. Do the same with any existing electrical features.
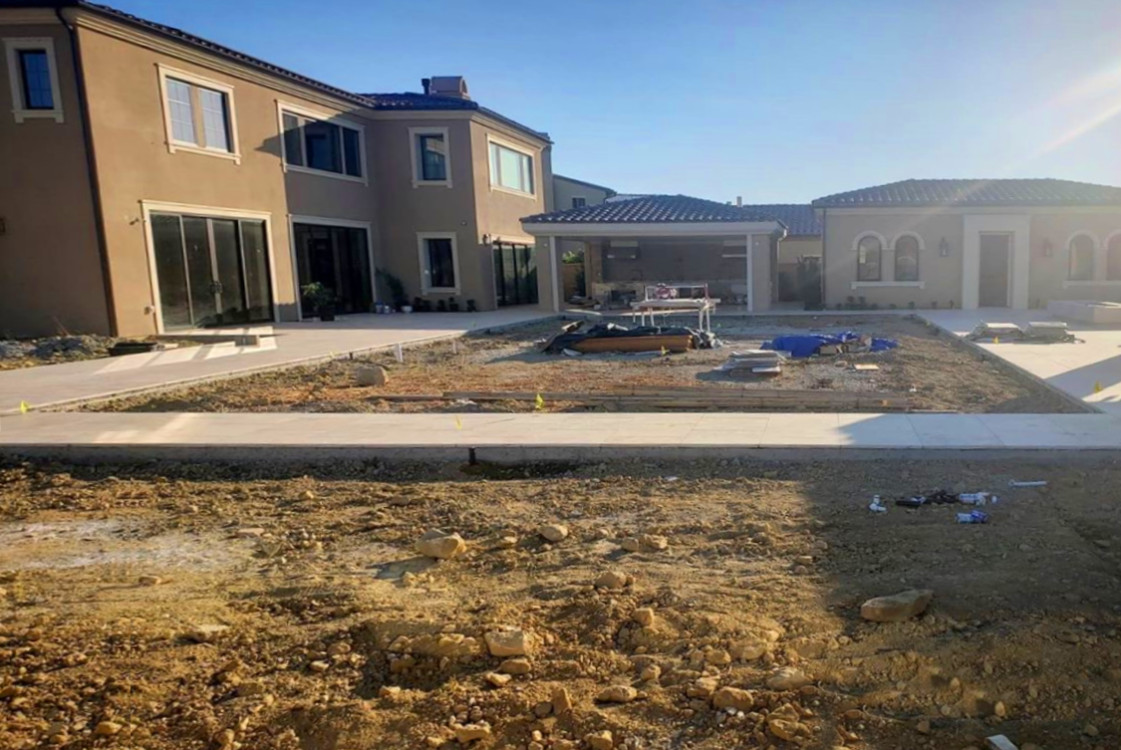
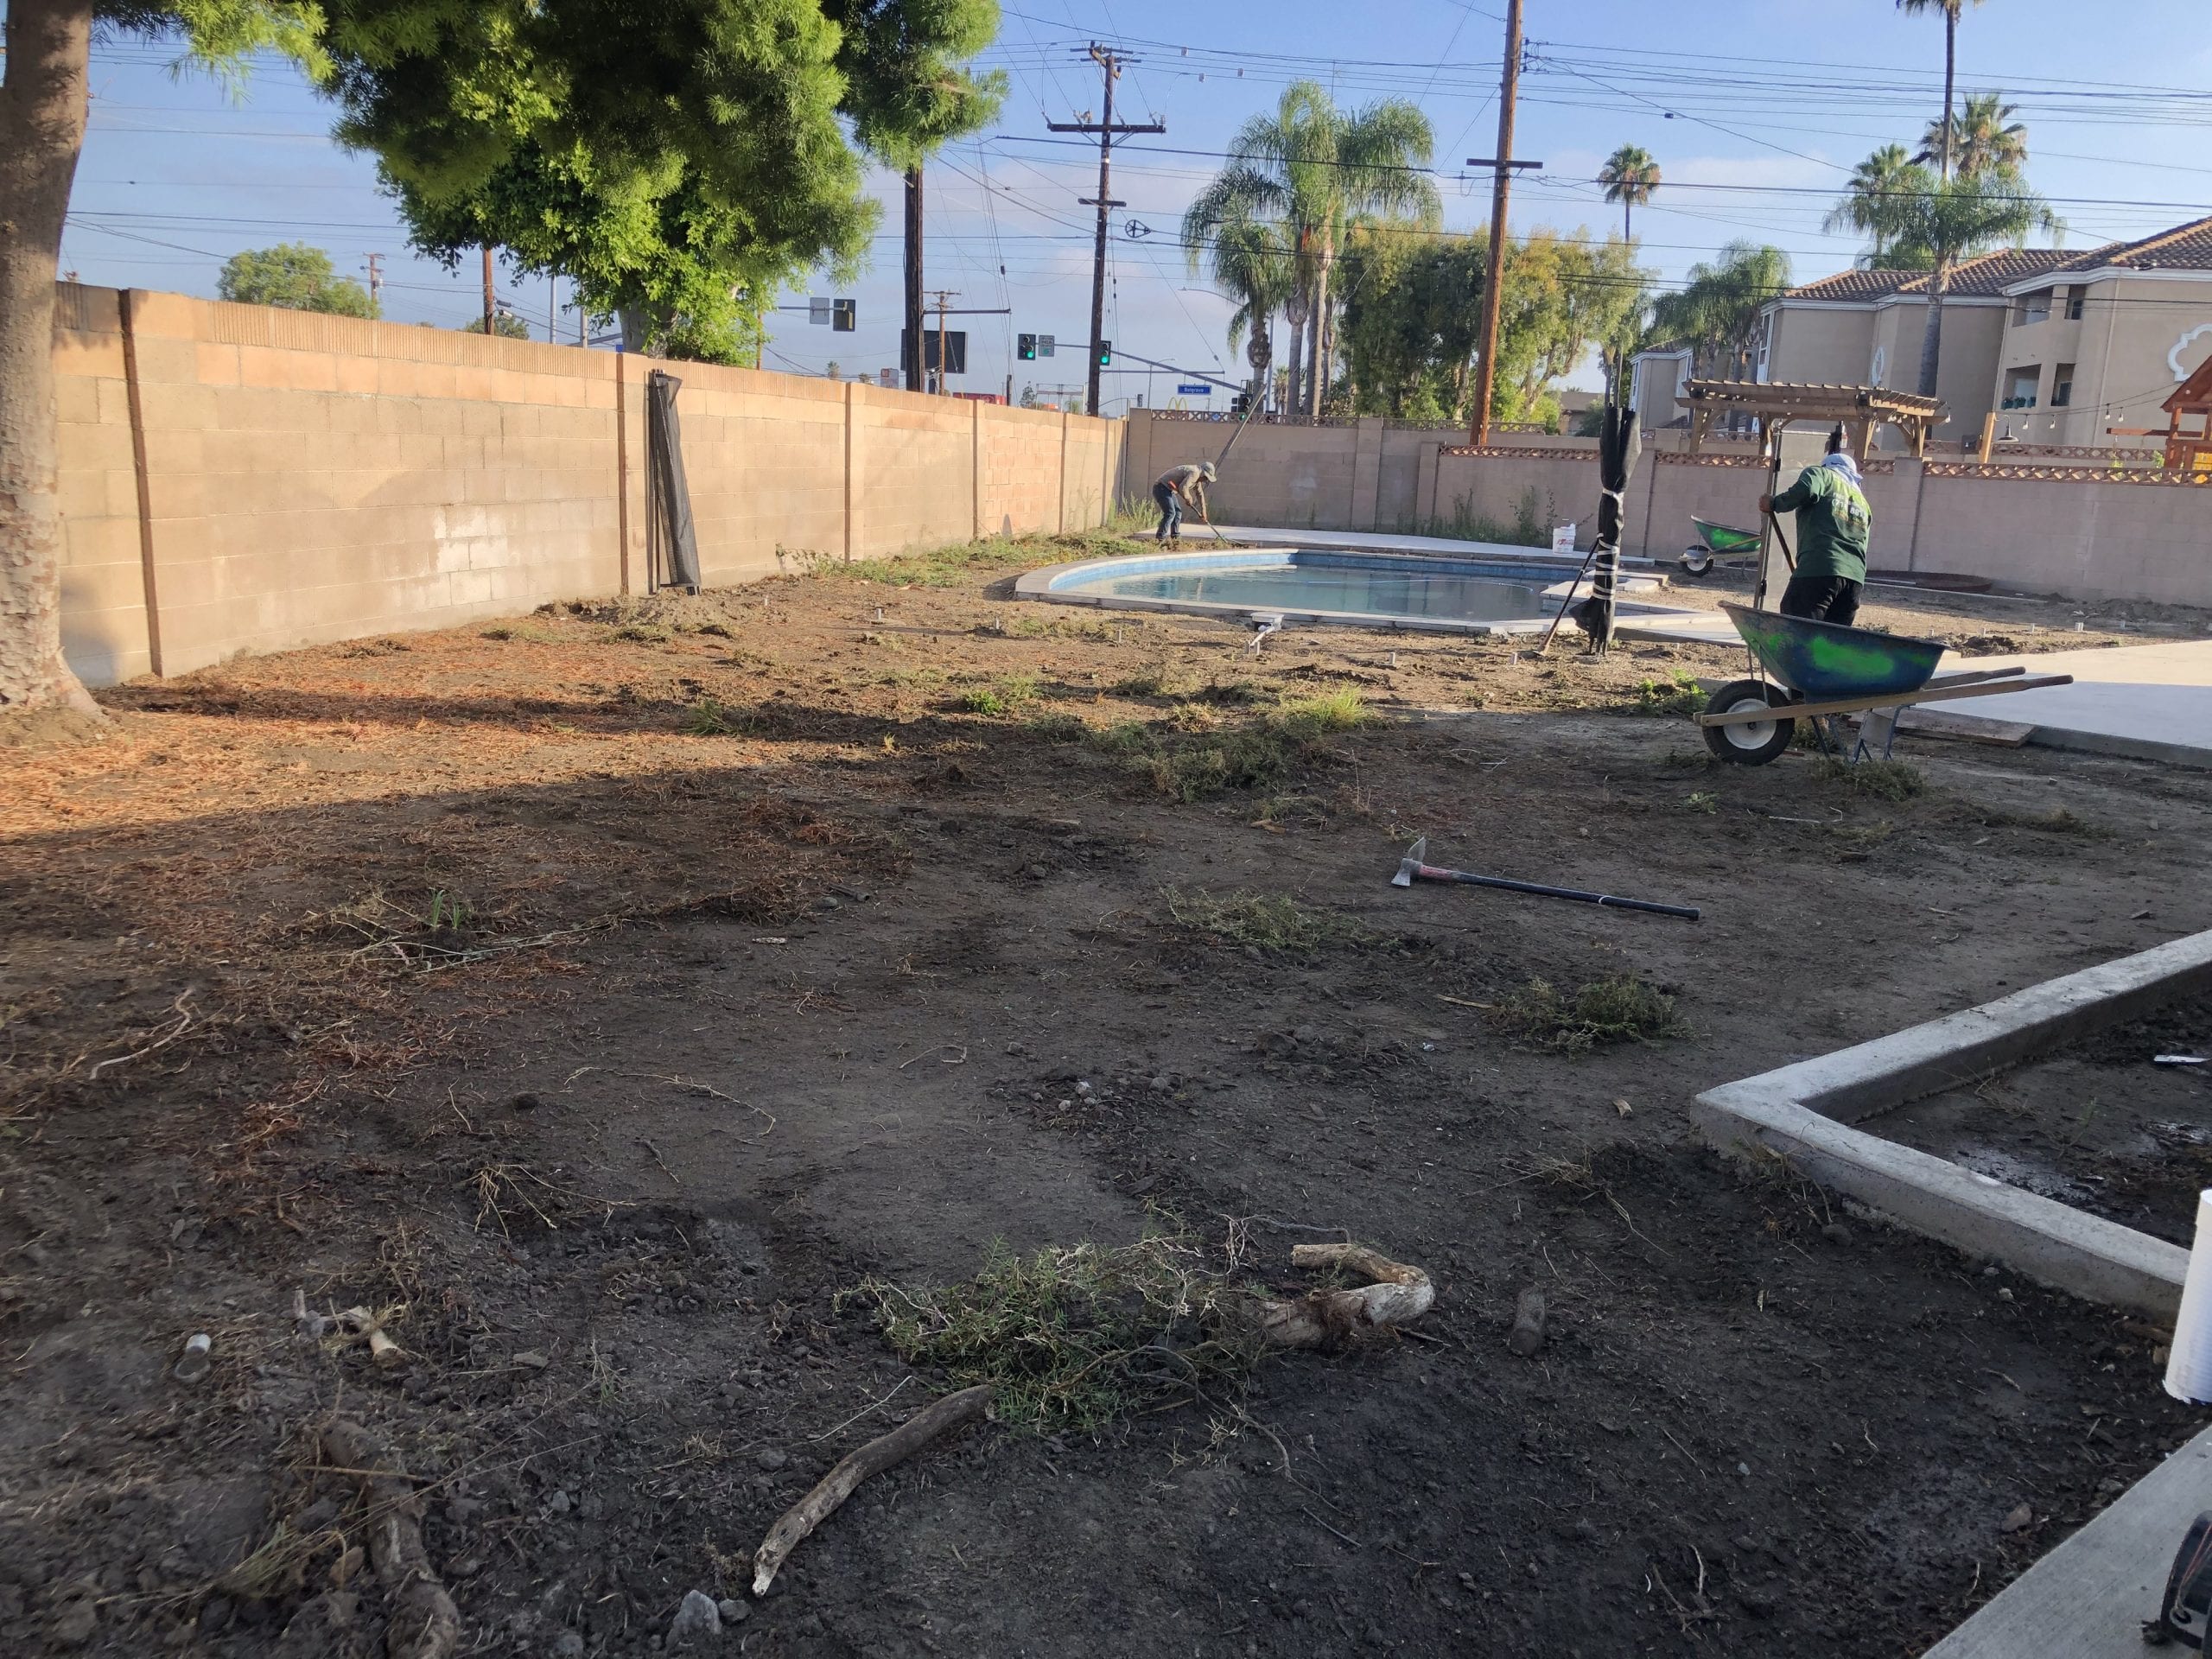
B. Existing Material Removal: Utilize a sod cutter, shovel and pick axes to remove all unwanted grass, sod, and vegetation. Remove all unwanted tree roots, mulch and large rocks. Grade the sub-base.
C. Base Preparation: Installing the base surface under the artificial lawn is critical to maintaining the stability and integrity of the artificial grass grass system. A layer of 3/8” crushed stone (also called Class 2 Road Base, Decomposed Granite, or Chat) should be spread evenly over the area. A general rule of thumb is one yard of crushed rock per 100 square feet of synthetic grass to be installed, provided that 3-4 inches of existing landscaping is removed.
D. The base material should be spread evenly. Grade and level to meet design and drainage requirements. Shape to desired appearance – flat, slight roll, mounded.
E. Lightly wet the project area and compact the base material with a roller compactor or plate compactor. Continual passes over the project area are required until a compaction rate of 90% or greater is achieved. When dry, the project area should be smooth and firm to eliminate unwanted bumps under the artificial grass grass system.
F. After the base is installed, the top of the artificial grass blade must be ½” above any surrounding hardscape. Add the height of the blade to the depth of the compacted base material to calculate how much material needs to be removed at these edges. The project area does not need to be flat. The area can have a slight grade, taking into account any drainage requirements.
G. If required, install rodent wire at this time. Install wire over entire sub-base area, with one square overlap. Secure wire to ground with landscape staples.
H. If required, install Poly-board or treated lumber along the perimeter.
3. Artificial Grass Installation
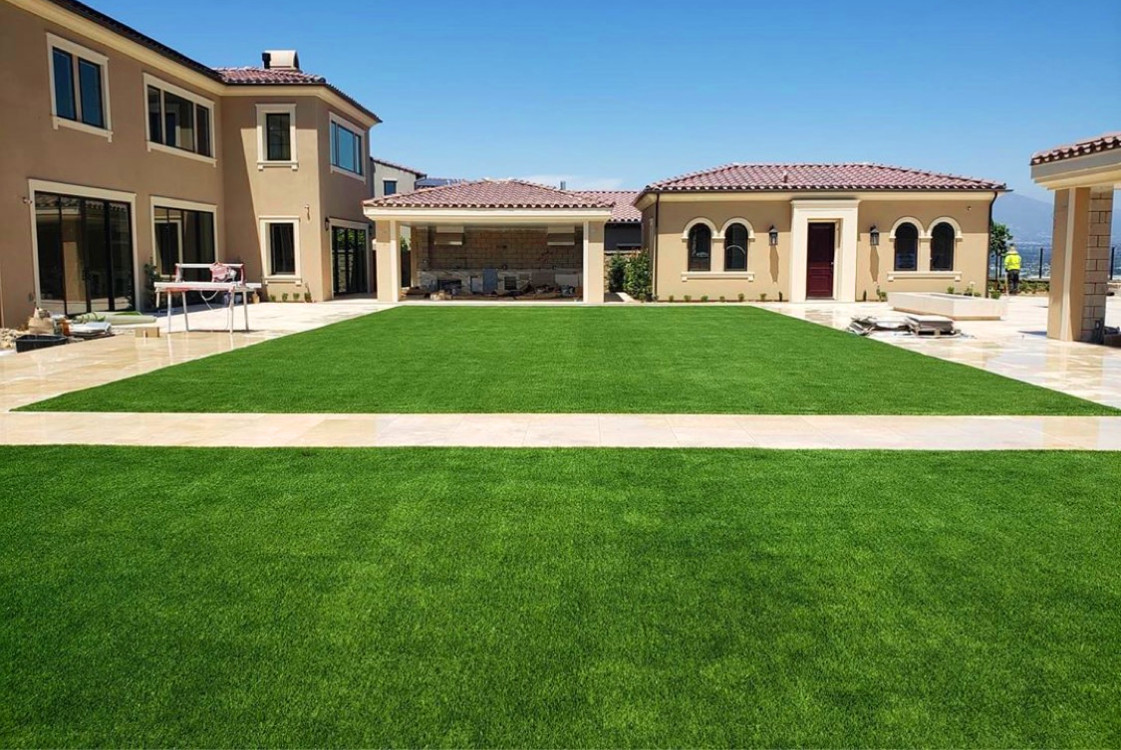
A. Unroll the synthetic grass and stretch across the top of the prepared base. Do not drag fake grass across the prepared base. If the synthetic grass has wrinkle, lay it flat on a flat surface in the sun. Be sure to have the grain direction of each artificial grass roll facing the same direction.
B. Cut the artificial grass to fit the project area with a razor knife or carpet cutter. All cuts must be made from back side of synthetic grass to see the stitch rows. Complete cutting before any seaming.
C. When cutting curved edges, cut in small increments to match the design. Using a silver marker to draw lines on the back side of the artificial grass is recommended.
D. If seaming two synthetic grass rolls is required, trim the edge of each piece so that they are very straight. Once the edges of each roll are straight, lay them adjacent to each other on the base in the desired position. Make sure that the stitch lines match. If the cuts are straight and the tuft lines match, the seams will be virtually invisible.
E. Place both ends of the artificial grass edges together, line up the stitch lines and fold back the edges of the synthetic grass sections to lay the 6” seeming material underneath the fake sections. Apply weather resistant adhesive (UltimateBond or EZ-Seam) using a zigzag pattern. Fold the two sections of artificial grass down together over seaming material to form one seamless piece of synthetic grass.
F. Secure the artificial grass around the seam with 6” or 7” landscape staples. When determining how far apart to place them, alternate sides every 6” rather than placing them directly across from each other. Place weight on the seam to hold the synthetic grass in place while the glue is drying.
G. Attaching the artificial grass to the border:
i. If there is treated lumber around the border, then nail the grass to treated lumber every 3” to 6” with 20D or 40D nails.
ii. If using Poly-board around the border, use an air gun to attach the synthetic grass.
H. If perimeter material is not used, use 6” or 7” stakes to secure the synthetic grass at the edges. Space the stakes along the perimeter edges approximately 12” apart.
I. Turn on irrigation to check that all desired sprinkler heads are capped and pipes have not been punctured. Check all electrical lighting. All repair work must be completed prior to infilling the artificial grass.
4. Artificial Grass Infill
A. Proper infill installation is critical to maintaining your artificial grass system. A chart has been provided below showing the amount of infill material for each type of fake grass. The materials (Options include: Washed Sand and Cryogenic Rubber or Acrylic Coated Sand, Washed Sand) used to infill the artificial grass help to protect the synthetic grass from the elements while maintaining the blade structure and level design. The infill material must be spread evenly. Utilizing a drop spreader (the type commonly used to spread grass seed, fertilizer, lime, etc.) is recommended. Do not “dump” the infill in large quantities on the fake grass as it will be very difficult to even distribution.
B. Do not attempt to install the infill material while the synthetic grass or the infill material is wet, as the infill will clump.
C. Place the infill material into the drop spreader and set dispenser gauge on 5 or Medium. Distribute the infill material liberally, but evenly over the artificial grass. Always install sand products first. Spread ½ pounds of infill material per pass.
D. In between spreading the layers of infill material, brush the synthetic grass fibers upright with a stiff bristled industrial broom, Grandi Groom, carpet rake or a power broom.
E. Repeat the infill process until the infill material is evenly spread so that no more than ¾” of synthetic grass fibers or ½ of the blades are exposed above the top of the grass.
F. When the infill process is complete, water the entire area evenly with a hose to settle the material. The infill can be adjusted again after it is dry.


